Tutorial
Softer Intro to Creative Coding
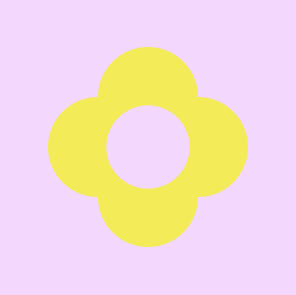
This is an intro course to programming with the P5js library made for the Softer Tech Conference. The course is expecially made for beginners with little to no experience with programming. With this tutorial we will be creating the Softer flower logo.
Setup for p5.js
p5.js is a JavaScript library made for creative coding, made specifically to be beginner-friendly for people new to programming, artists, designers, educators. It is made to be beginner-friendly, while also fun for more advanced programmers to play with.
One of the things that make p5.js beginner-friendly is that it has a really nice coding editor that you can find right in your browser.No need to install lots of things to your device. Navigate to the p5.js web editor and make sure to click the sign up button. Now you should see something like this:
A coding editor a little bit like the equivalent to MS.Word for writing text, except this is where we write our code.
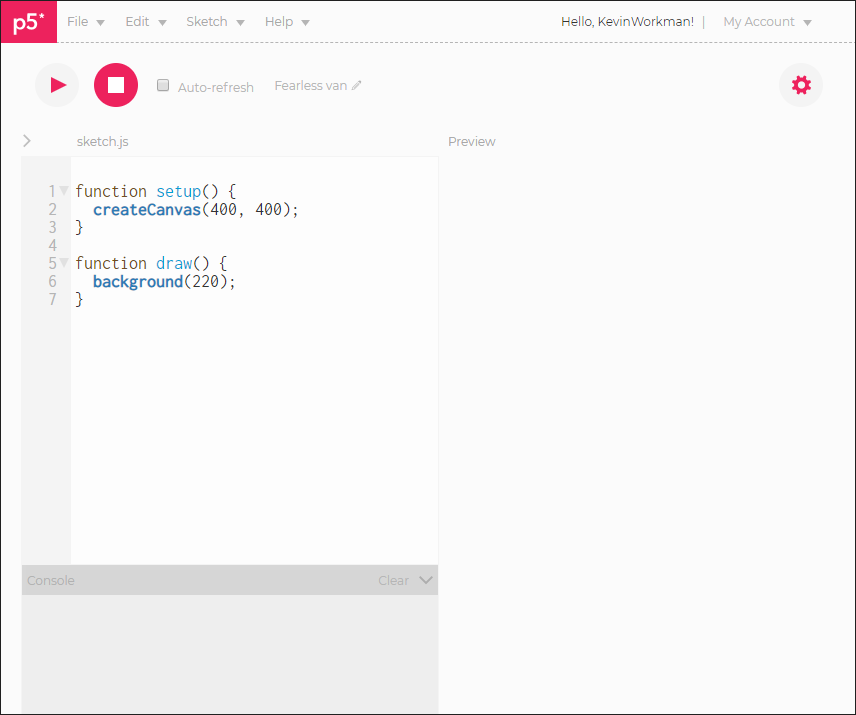
As you can see we have a view with two different panes and above it a play button with the triangle. In the left pane, you can write code, and you will see it comes with a few lines of code already written. In the right pane, you see something like a piece of paper. Everything we draw will appear on it!
In the editor you should see the following code:
function setup() {
createCanvas(400, 400);
}
function draw() {
background(220);
}
Functions: setup() and draw()
Let us unpack what we are seeing here. When you run the code you see the result in the preview section on the right and so far all this code does is create a drawing canvas and give it a grey background.
A function is a block of code that can be called again and again because it has a name. Always write the keyword function before the name of the function.
In the first example we have a function called setup(). This function is called once when the program starts and is used to define the screen size and background color. A little bit like the paper you draw on. If you want to learn more about it, you can read about this function in the p5.js documentation here.
The draw() function is always called right after the setup() function and this is where you define code that runt until the program is stopped again. There can only be one deaw() function for each sketch, and the draq() function must exist on order for the code to run continously. Documentation for draw().
Make Your First Sketch
Now we want to create our first drawing on the screen, a circle!
This pane here above is actually a little embedded p5.js editor, which also runs your code and shows it directly on this site! Very neat, but I want you to still go back to the other tab where you kept the standalone p5.js editor since it will save your work and make it easy to share.
function setup() {
createCanvas(400, 400);
}
function draw() {
background(220);
circle(200, 200, 300);
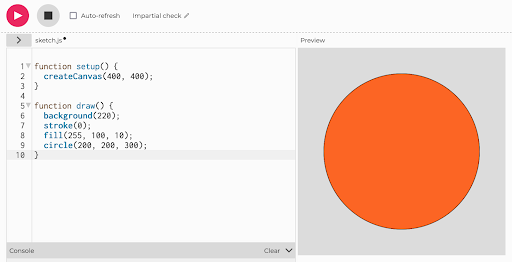
}What we want is to add just one more line of code in our p5.js editor, circle(200, 200, 300);, which we want to make sure to add inside the draw() function. Notice the circle() function takes three arguments (200, 200, 300). Make sure your semicolons and curly brackets are all in order, and then click the play button again. Now you should see this:
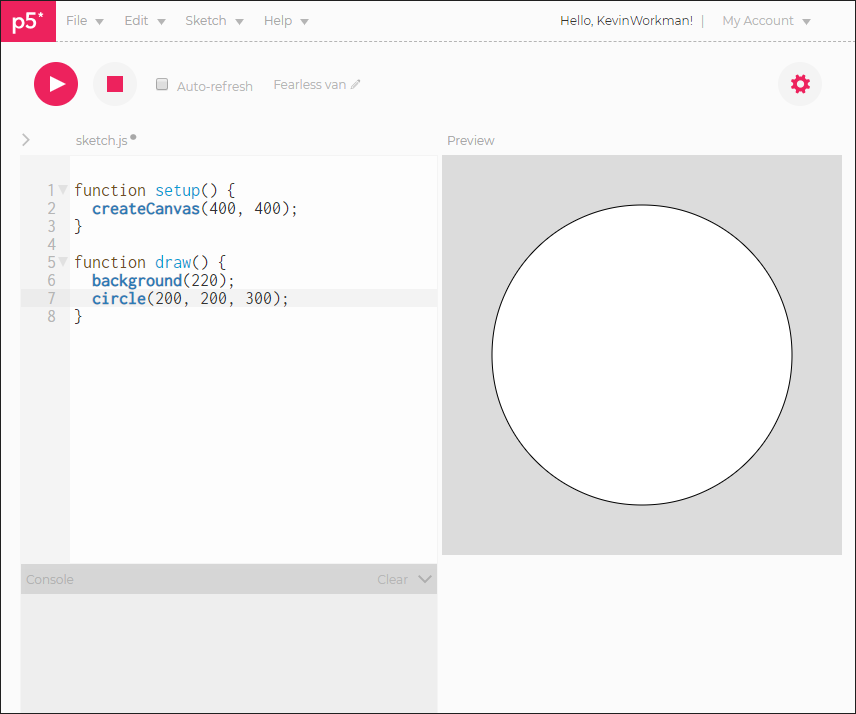
When you click run, you should see that you drew your very first drawing, a circle with three values. circle(x, y, d). With the parameters: x coordinate of the center of the circle, y coordinate of the center of the circle and d diameter of the circle.
Variables
We just learned about functions and how these are reusable blocks of code that we can call using their names. Next you need to learn about variables. Variables are for storing values and data for later use, and can also be accessed again using their names. Use the var keyword before giving it a name and add the value after assigning it with the = sign.
var colorValue = 0;
function draw() {
background(colorValue);
}
Creating the Softer Flower
Next thing we are going to be applying or new knowledge about circles to creatw a flower that is very inspired by the Softer logo. To create a variable, we use the let keyword to define a name and a value.
function setup() {
createCanvas(300, 300);
noStroke();
}
function draw() {
let circleX = 150;
let circleY = 150;
let circleDiameter = 100;
background(245, 220, 252);
fill(245,238,99);
circle(circleX, circleY, circleDiameter);
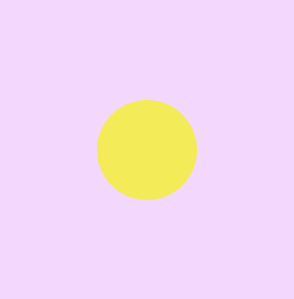
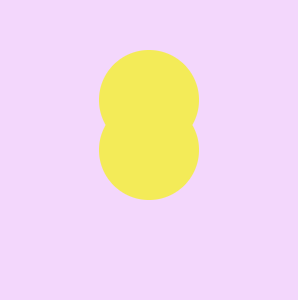
}So what we do here is creating a canvas with a 300 x 300 size. In the draw function, we set the background to a lilac color (with the RGB code 245, 220, 252). Notice that we set variables for the circles x and y coordinates as well as its diameter. The use of nostroke is to makes sure that the circle does not have any black border. Leave this line out if you like the look of the border. It should look like this.
let flowerX = 150;
let flowerY = 150;
let petalSize = 100;
let petalDistance = petalSize / 2;

background(245, 220, 252);

// center petal
fill(245,238,99);
circle(flowerX, flowerY, petalSize);
Next we want to start creating the variables we need to vreate our softer flower.
flowerX holds the horizontal position of the center of the flower.
flowerY holds the vertical position of the center of the flower.
petalSize holds the diameter of the petals. petalDistance holds the space between the center of the flower and the four orange petals. Notice that this line uses the petalSize variable to calculate its value! Link to sketch to follow along. This may not seem like a huge difference, but using variables like this sends us well on the way to make a flower shape.
Notice the line starting with //. This is how to make code comments that the cumputer will skip instead of reading and trying to execute. This is the way to annotate the code, i.e. make comments for making the code clearer to ourselves.
Next we want to add a petal! We will add all the petals above the code that creates the center petal. If anything goes wrong, check your code here.
// upper petal
fill(245,238,99);
circle(flowerX, flowerX - petalDistance, petalSize);
Skipping criminally far ahead in order to finish this tutorial in time, let us take a look at how it looks to add the last three petals to our flower.
// lower petal
fill(245,238,99);
circle(flowerX, petalSize + petalSize, petalSize);

// left petal
fill(245,238,99);
circle(petalSize, flowerY, petalSize);

// right petal
fill(245,238,99);
circle(petalSize + petalSize, flowerY, petalSize);
Finally, I think we should change the color of our center circle to lilac as well.
// center petal
fill(245, 220, 252);
circle(flowerX, flowerY, centerPetal);
Follow this link to check your code.
Inspiration and Examples
Predefined code things are usually grouped into what is called libraries that can be imported into the editor. However, some libraries are so used that they are by default imported, which means that you can use them without importing a library. These can also be thought of as built-in methods that comes automatically with the framework.
To find lots of examples of default library functions go to: and then scroll to “programming topics”.
Play around with these functions e.g. the color functions, by adding the line fill(0) see what happens. Add line stroke(255, 100, 10) and see what happens.
Keep Learning
Happy Coding p5.js Tutorials * Beginner-friendly and extensive p5.js tutorial page.
Introduction to Creative Coding * intro to the visual library p5JS.
The Coding Train * Beginner-friendly youtube videos on creative coding.
The p5.js official get started guide * Tutorial and ressources.
p5.js shaders ressource * an open-source guide to everything p5.js shaders.
Thanks for following along! Big thanks to Alma for helping me out with creating and teaching this course.